Today the main component — and also the most expensive — of any gaming PC is undoubtedly the GPU… and it is unfortunately also the noisiest one under heavy loads.
In my case, having the PC in the living room, this was quite annoying to those around me when I used it for extended periods, so I decided to proceed with a drastic intervention to reduce its noise levels.
As we all know, graphics cards — at least in their stock versions — generally come with an air cooler equipped with excellent cooling fans. These are designed to cool the heatsink, and therefore the card, keeping it constantly within the correct operating thermal range… however they often do so generating quite a lot of noise.
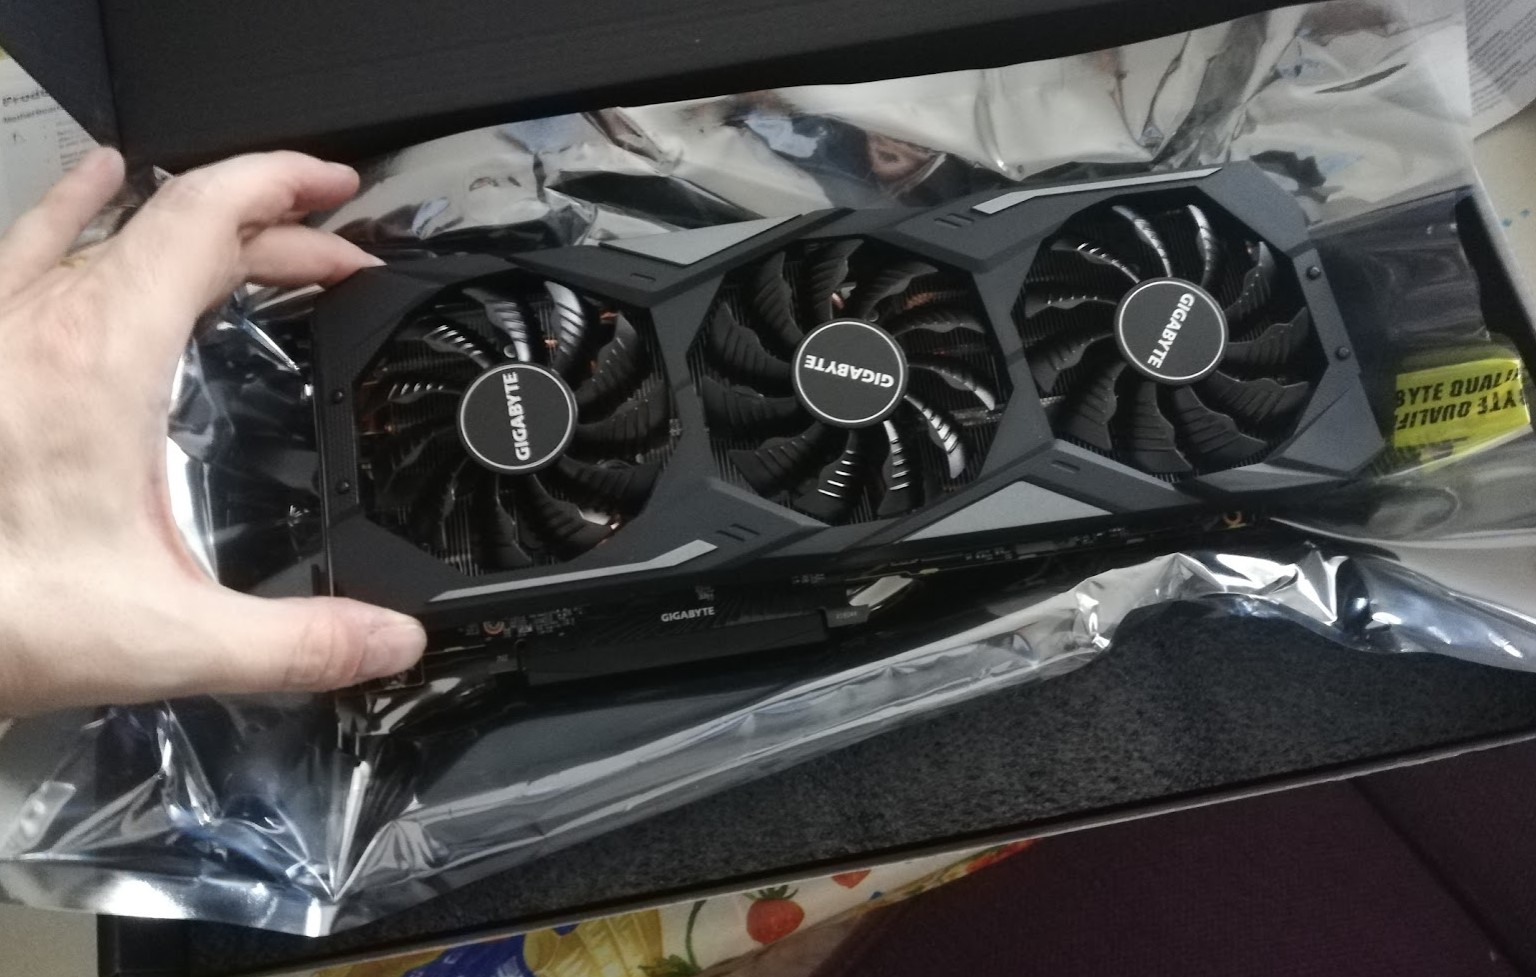
This noise is caused by the rotation of the fans which, to achieve their purpose, must reach a sufficient speed to move the air needed to cool the card. In my case my Gigabyte RTX 2080 OC had no fewer than 3 of them, thanks to the WindForce heatsink…. well-made and effective, certainly…. but in my opinion noisy under heavy loads.
So how to solve the problem?
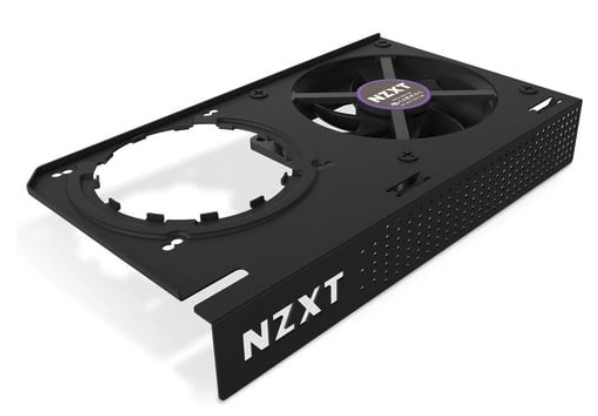
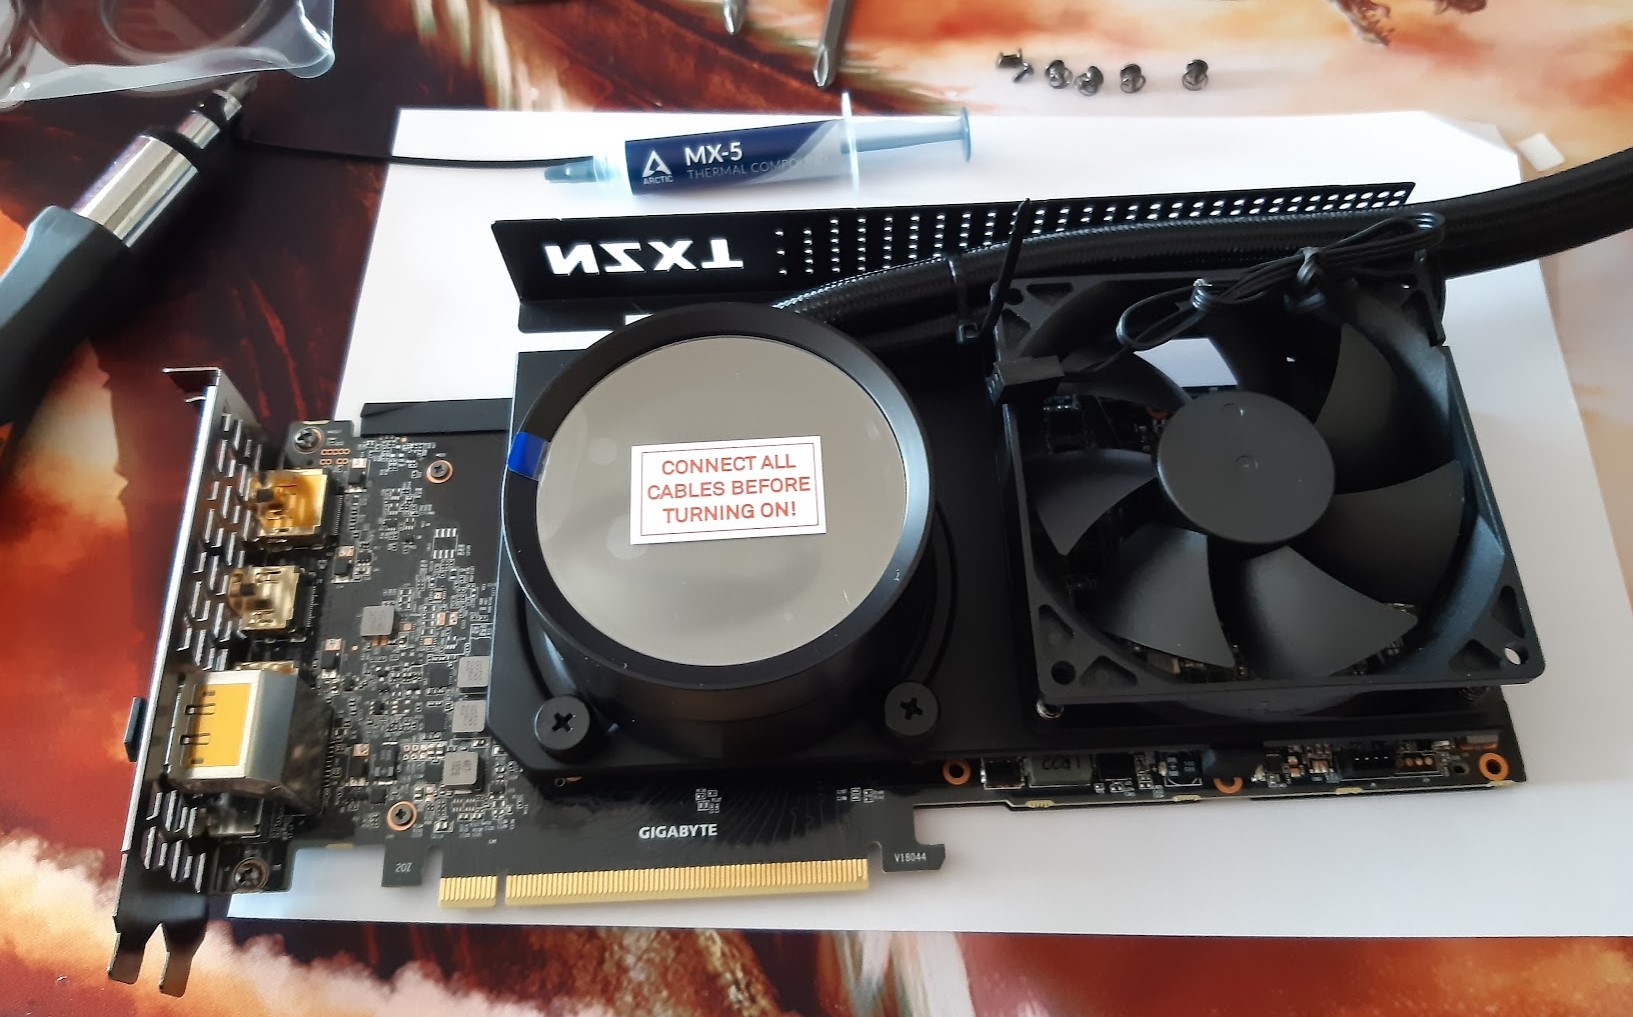
The solution I chose was to replace the card’s cooler with an all-in-one liquid cooler — the NZXT Kraken X63 paired with the NZXT Kraken G12 adapter, required for mounting on the card.
Finally, for thermal compound application, I chose Arctic MX-5 thermal paste.


I took advantage of the fact that the card was going out of warranty, so I could risk disassembling it knowing that in any case, support in the event of a future product failure was already expired.
It’s important to keep this point in mind as we go through the article… All damage resulting from disassembling the card is NOT covered by the product warranty…. so it’s worth remembering that all the steps described below, should you also want to apply a similar solution, are done entirely at your own risk.
Some manufacturers are more lenient than others as they assess the type of damage before refusing a potential warranty reimbursement for malfunction…. but it’s good to be clear on this before applying this type of solution. In fact… let’s make it very clear with a disclaimer:
WARNING: Disassembling a graphics card voids all warranty rights and support.
With that clarified, as I said, switching to a liquid cooler was my choice to reduce noise levels. Why?
A liquid cooler consists of a block to be mounted near the processor to be cooled, with an integrated pump (in the case of all-in-one models like this one). This block circulates coolant towards a radiator. The radiator is in turn cooled by a series of fans… but these have the great advantage of being located in a much larger area of the case, meaning they can be much larger than those that could be fitted on a graphics card.
The advantage is that they can spin much more slowly, thus guaranteeing an overall noise level reduced compared to the stock solution.
So noise is completely eliminated?
No, it isn’t — be careful…. keep this firmly in mind from the start. This is not a zero-noise solution as the pump and fans still produce noise…. but this tends to be lower under heavy loads compared to what you’d get from a graphics card’s standard fans.
Of course…. this obviously applies if you have properly sized the solution with an adequately sized radiator. For this point, however, before making choices, I always recommend checking the noise values indicated by the manufacturer for both your card and the liquid cooler you’re considering.
Once I’d received all the components I moved on to disassembling the previous cooler… the part I probably feared most, worried about causing some damage. However, working carefully and calmly, the operation was simpler than expected. With the screws removed, carefully detaching the old cooler bit by bit applying only minimal leverage where needed and disconnecting the cooler’s power connector, the two components separated without too many problems.
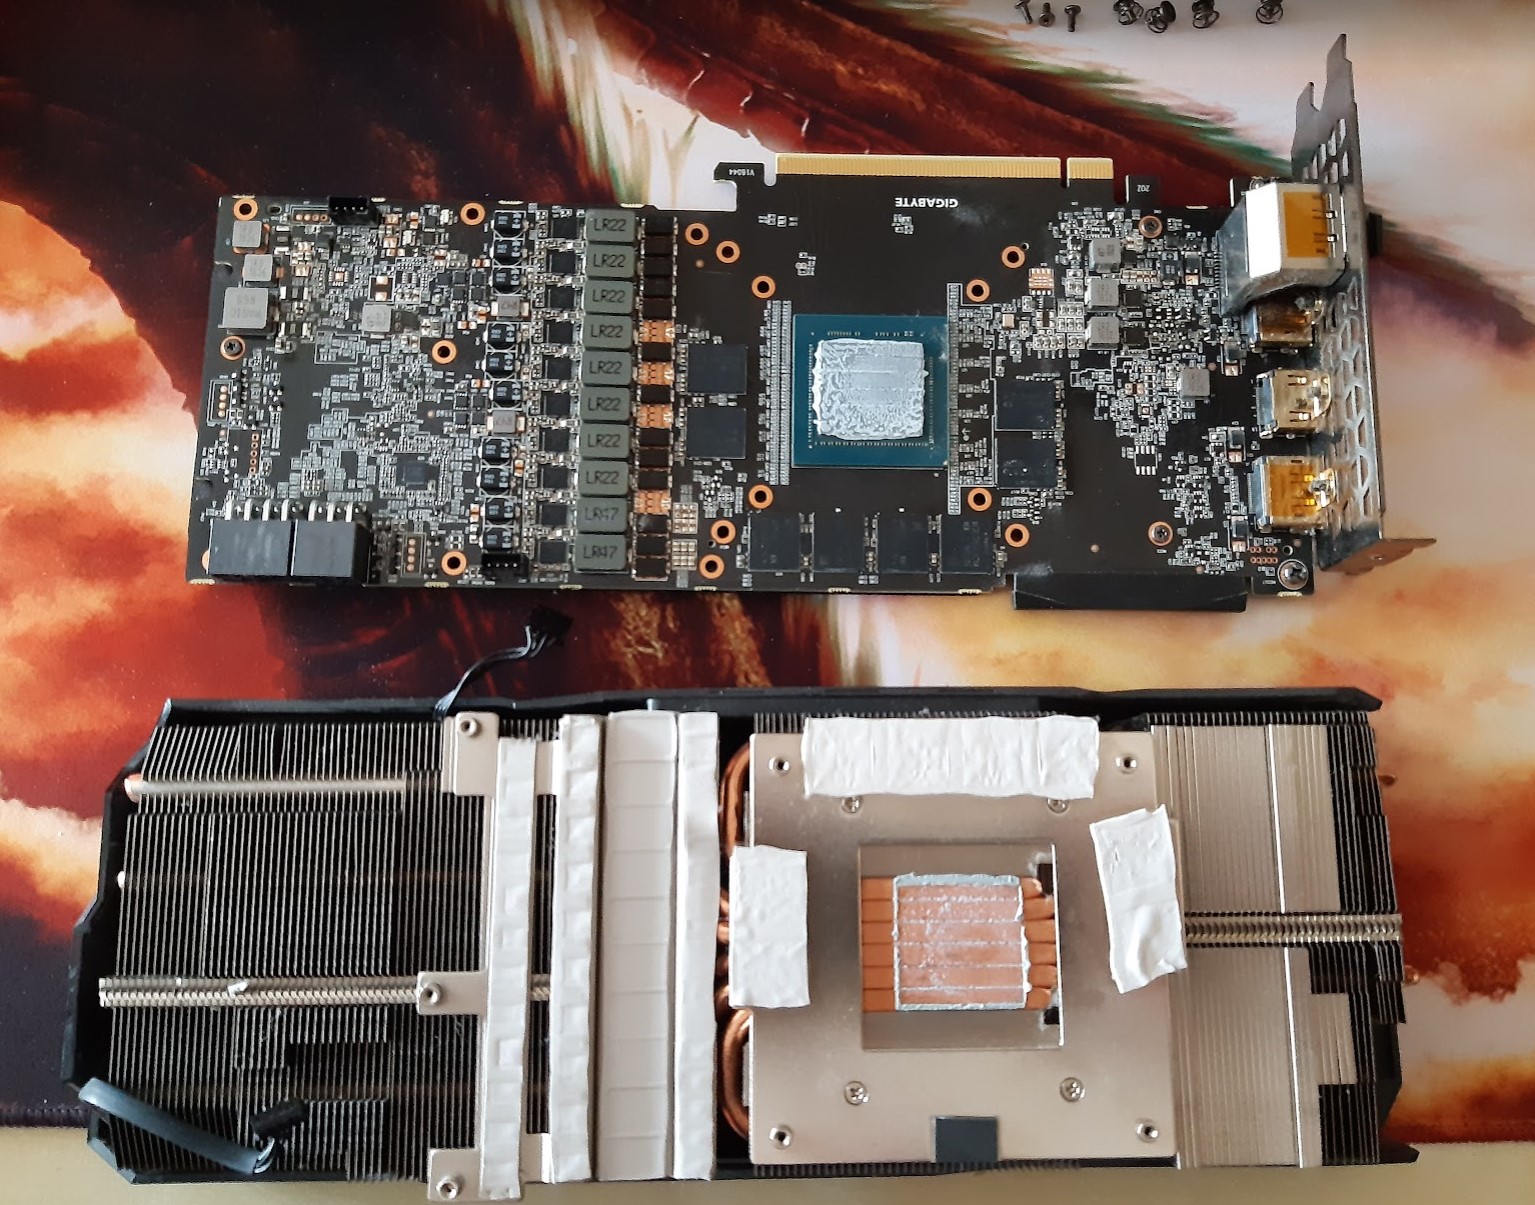
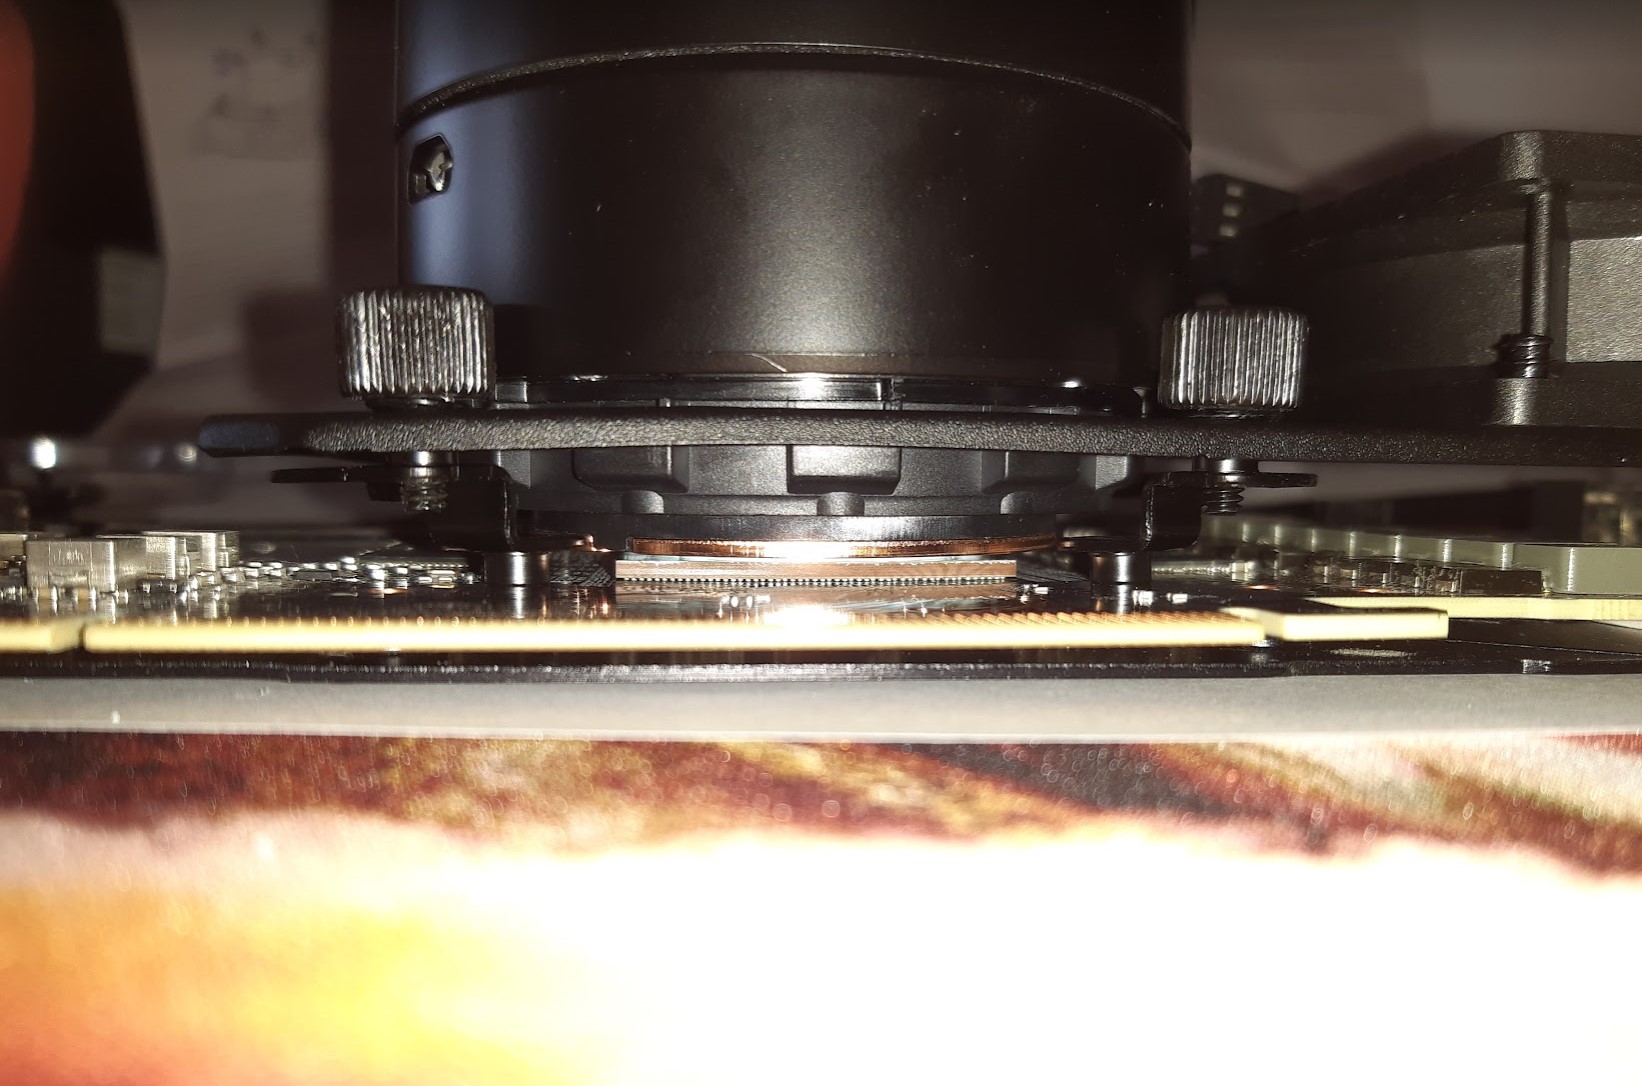
The next step was to remove all the thermal pads (carefully repositioning them on the card for possible remounting of the cooler, without losing them) and then cleaning the GPU with alcohol and cotton pads. Purists will forgive me since in laboratories that do this kind of work there are certainly more appropriate tools (isopropyl alcohol, better removal tools… and certainly anti-static systems) — however this was what I had available and it did its job very well.
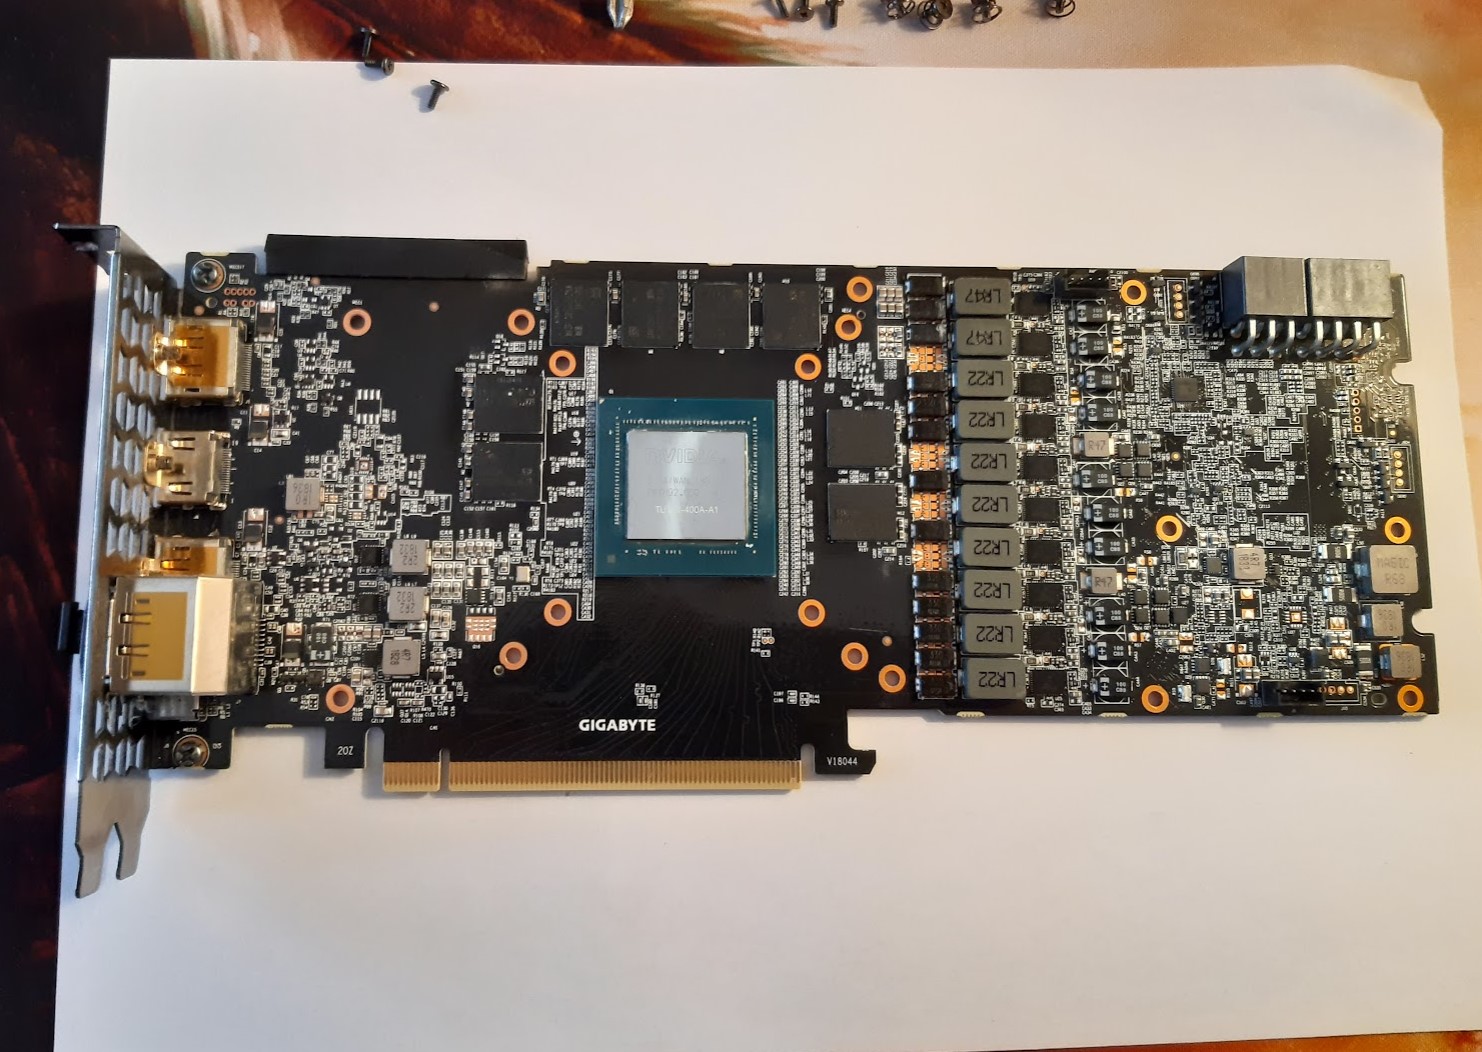

At this point I applied thermal paste to the card’s processor and moved on to mounting the cooler onto the card with the G12 adapter. Here my concern was lower but I still paid very close attention, worried about not getting them to adhere properly to each other.
Once the screws were tightened properly…. the hard part was done!
After this I moved on to installation in the case (my NZXT H500) which, following the instructions carefully, wasn’t difficult…. however I also recommend doing things calmly here for anyone who wants to attempt this, because the positioning requires some attention.
The tubes leading to the radiator aren’t very long…. they have, let’s say, “just the right length.” Therefore routing them correctly is essential to be able to position the radiator inside the case.
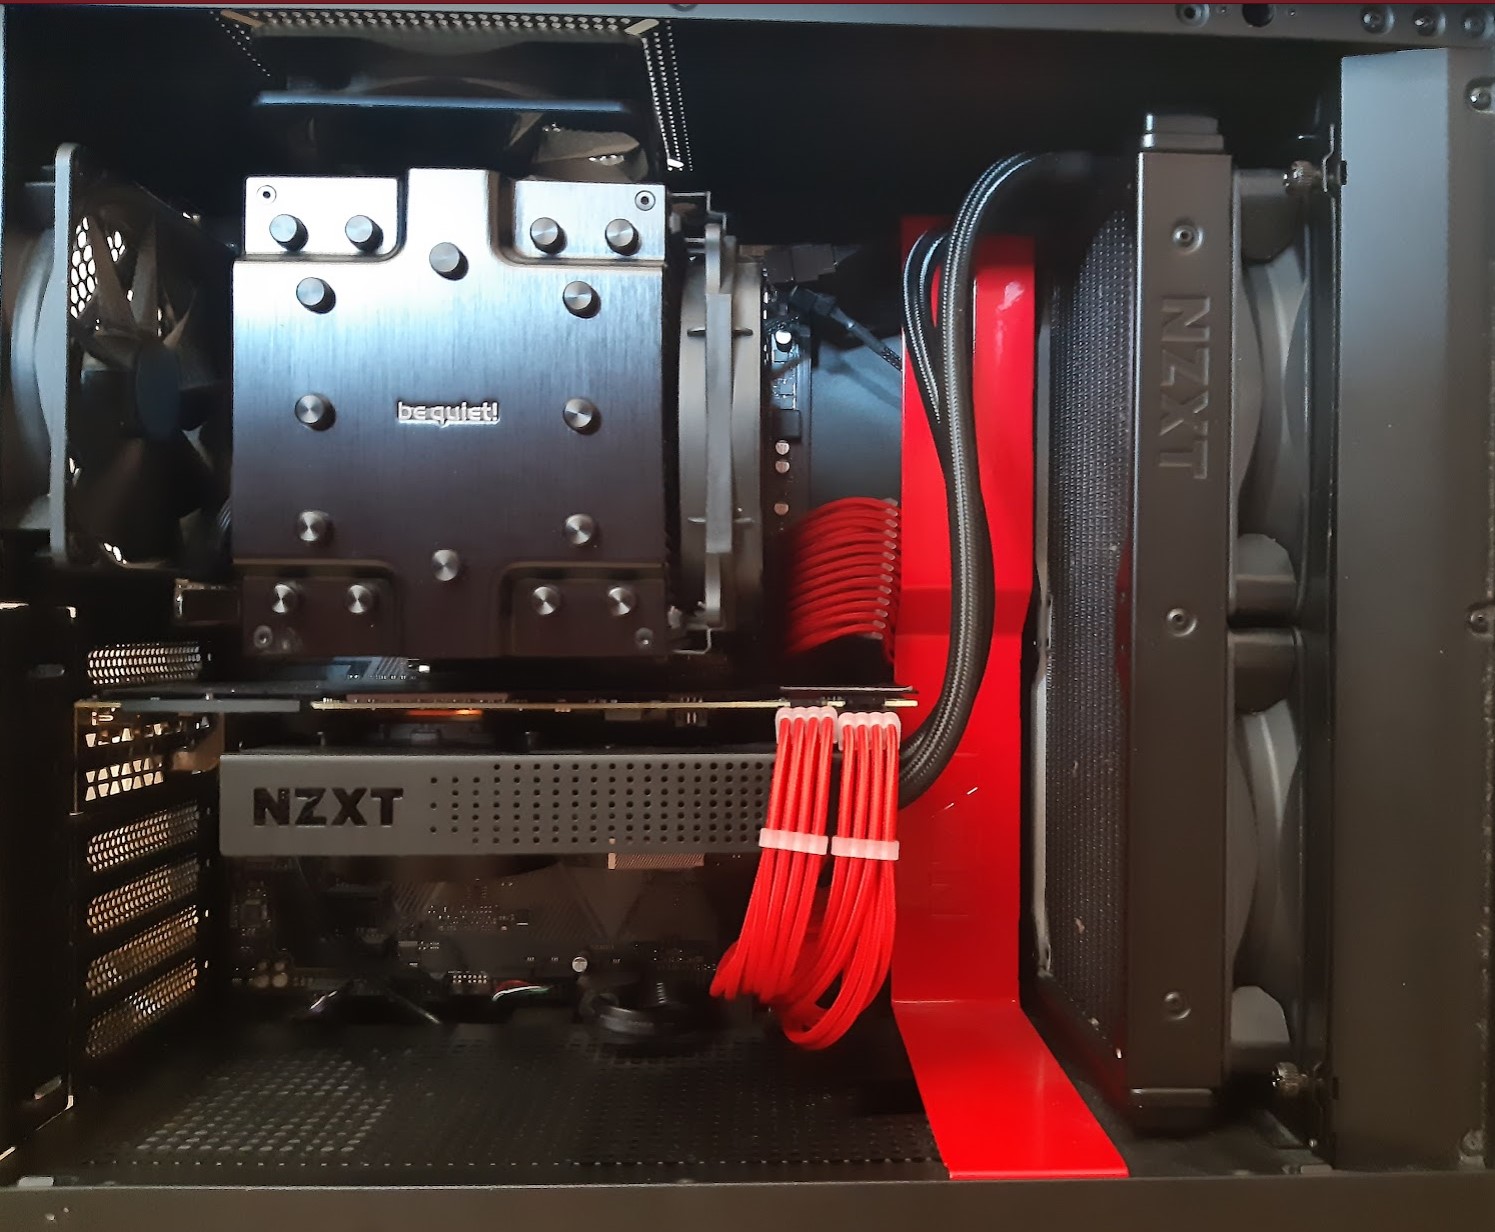
Once all the pump cables were connected along with the fan cables, I tried starting everything up… which fortunately started without problems, letting me breathe that classic sigh of relief.
At that point the next step was installing and configuring the NZXT CAM software to manage and monitor the Kraken.
However, it wasn’t all done yet.
It’s important to note that I had to spend quite a bit of time properly adjusting the fan speeds of the case (connected to the motherboard), and the speed of the AIO (the Kraken) also connected to the mobo, to adapt the entire system to the new component added.
By reducing the overall temperature in the case, I was then also able to reduce the speed of the other fans, thus achieving low operating temperatures combined with reduced noise levels. A good exercise done while keeping a close eye on the temperature values of the various components via the monitoring solution I’ve already described in the article you can find HERE.
Another point of attention was configuring the Kraken so that its speed was tied to the GPU temperature rather than the CPU temperature (which is the default). This in particular is a fairly straightforward configuration that (now that you know it exists… :)) you’ll find in the NZXT CAM software control panel.
And the noise? In tests carried out with my sound level meter I recorded a reduction of at least -4dB… in overall noise levels (which is significant!!) that improves further under high-load situations. This is associated with a drastic temperature reduction of at least 20 degrees for the GPU. These are the things that make you say…. Why didn’t I do this sooner???
Conclusions
If you’ve read this far, the conclusion seems obvious. Noise and temperature reduction goals are both fully achieved.
But would I recommend it to everyone?
The slightly less obvious answer that obviously needs elaborating is…“it depends.”
In my case the graphics card was out of warranty so I wasn’t worried about losing support in case of product problems. But if that hadn’t been the case I might have at least waited… also because the disassembly and assembly operations you’ve seen aren’t few and it was the first time I’d done this work (even though I have other similar experiences behind me).
Then, as with all things, it depends on how confident you are in doing this type of operation relative to your wallet. Breaking a €700 card (when I bought it… it’s worth much less now….) while mounting a cooler is not something that lets you sleep soundly? Then don’t do this kind of work.
Don’t have the expertise but have a supplier who will do this work for you and perhaps even guarantee the warranty? Then do it — the benefits are undeniable!
With all these caveats, however, my personal experience that I’m sharing is that I’m absolutely extremely satisfied with both the products and the result achieved.
As you can see there are several factors to evaluate but I hope I’ve given you, with the description of my experience, all the useful elements to plan your own choice.
But above all…. if you decide to embark on this activity….enjoy it because tuning is one of those things that, if you’ve read this far, I’m sure gives you as much satisfaction as it gives me… and not when the work is finished but while you’re planning it, making your choices and then perhaps deciding to go ahead.
So, in any case… have a good journey 🙂
p.s. a big thanks to my friend Goozo (real name Daniele :)) who was the first to do this on his own PC and convinced me it was doable without too much risk.