Here is a complete guide to building the retro console you never dared to ask for — all the arcade and home console experience of the 1980s and 1990s, in a compact device you plug into your TV for under €90.
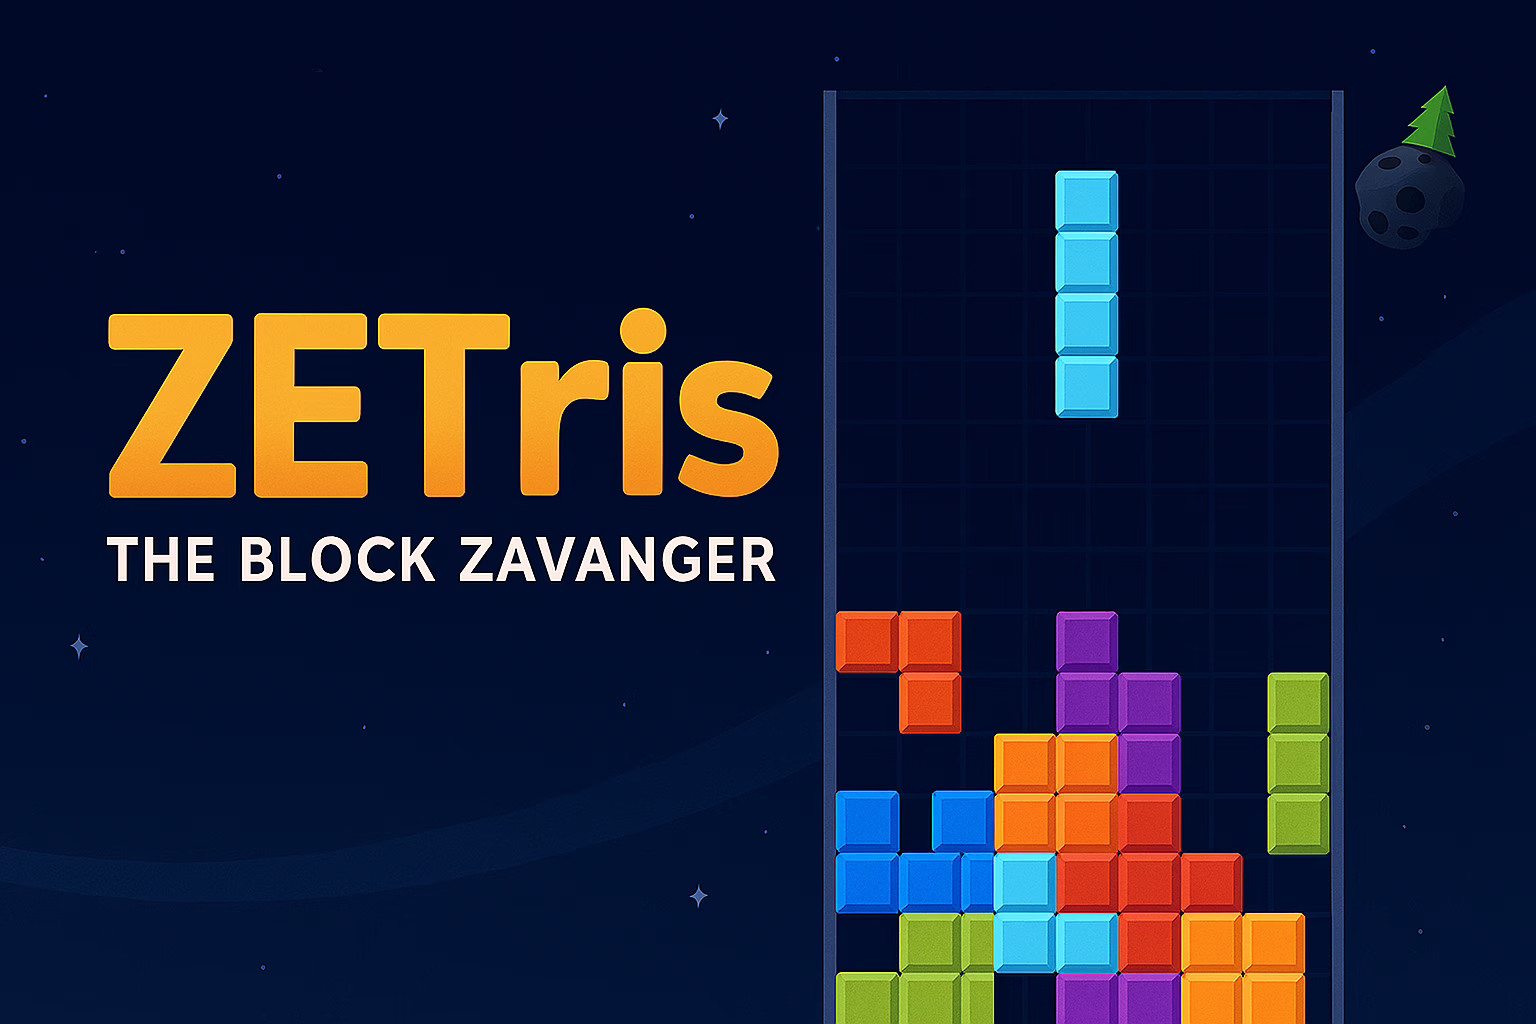
1. The Console of Wonders
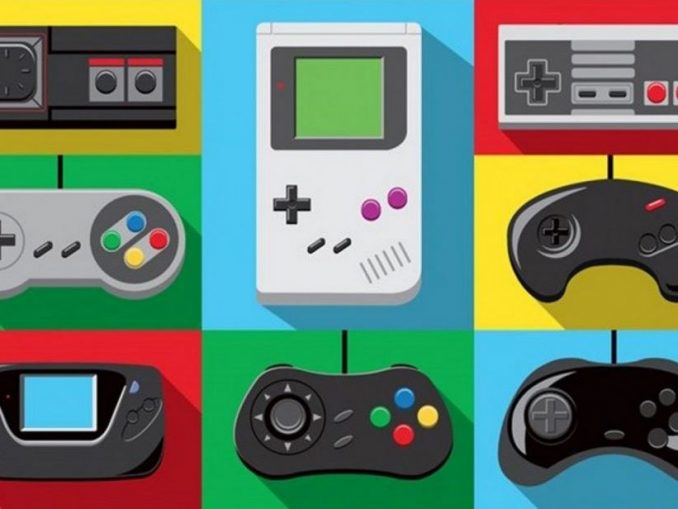
Remember the ’80s and ’90s? It was the dawn of 8-bit and 16-bit consoles. A flourishing and exciting period when the internet was still a distant dream and true domestic video gaming was just beginning. We moved from arcades to our living rooms, and the latest console was the coveted object every kid dreamed of finding under the Christmas tree.
Today there’s a genuine revival of that era thanks to well-established emulation software and, above all, the low-cost hardware that lets us resurrect those games with minimal investment, directly on our latest-generation TVs.
Can you imagine having all the consoles in one: NES, Super NES, Mega Drive, Neo Geo, Game Boy, Atari 2600… all in the same mini-console, for under €90?
2. Raspberry Pi and the RetroPie Project
I’ve already described the wonders of Raspberry Pi in a previous post. For a few euros on Amazon you get this little device complete with HDMI port, USB ports, quad-core CPU, network card, Wi-Fi, Bluetooth and microSD reader — all designed for minimal power consumption.
This hardware would not easily achieve its purpose without the excellent work of the RetroPie project: an open project aimed at creating a complete software package — from emulators to the Emulation Station dashboard — with everything pre-configured. Just load the image onto your Raspberry’s microSD, insert it in the slot, connect the peripherals and power on. Everything is ready to play immediately.
3. ROMs: A Legal Matter
On top of hardware and software, there’s one important component to add: ROMs — the dumps of games from the past. For legal reasons it’s essential to be clear: using ROMs of games you don’t own is effectively illegal.
Alternatively, you can stick to ROMs of games you’ve purchased, or ROMs declared as free to use, staying within the bounds of the law. The choice is yours.
4. The Shopping List
The basic concept is that you can reuse most of what you already have at home. Alternatively you can buy one of the ready-made kits.
- Raspberry Pi 3 Model B — ~€37. Go straight for version 3: Wi-Fi, Bluetooth and a faster processor make the difference and prevent lag in the emulators.
- Case for Raspberry Pi 3B — from €9. Amazon has every kind, including NES-shaped ones. Choose one specifically for version 3.
- Heat sinks — ~€6. Not essential but recommended. Already sold with adhesive, they apply in seconds.
- 5V/2.5A power supply — ~€8. The Raspberry has no battery and needs the power supply constantly connected.
- HDMI cable — ~€6. You probably already have one at home.
- MicroSD card, at least 16GB — ~€15. With all the software, a 16GB card holds over 5,000 ROMs. Sufficient for any use.
Approximate total cost: ~€81. You can spend less by reusing an HDMI cable, power supply or microSD you already have. Or start directly with a complete Amazon kit.
5. The Controller
All that’s missing is a gamepad. There’s truly something for everyone on the market, from €9 upwards. If you have a PC gamepad (even an old Logitech Rumblepad works perfectly) you already have everything you need. For certain configurations a USB keyboard is also handy.
6. How to Set Up the Retro Console in 4 Steps
- Download the image — An excellent site with ready-made images (with and without ROMs) is arcadepunks.com. Choose the image suited to your microSD size.
- Format the microSD — Use SD Formatter (Windows).
- Load the image onto the microSD — With Win32DiskImager: select the .img file and your formatted microSD (double-check the drive letter!).
- Insert the microSD into the Raspberry and connect everything — Connect the power supply last: the Raspberry starts as soon as you plug it in. Select the correct HDMI input on the TV and in a few seconds you’ll see your new RetroPie console booting up.
7. Configuring the Controller
On startup, the system will detect the connected controller and ask you to configure it. Do this carefully following the on-screen instructions: it’s a lengthy procedure but only needs to be done once. A few useful tips:
- Press F4 to return to the Linux terminal at any time
- During a game, press SELECT + START simultaneously to return to the RetroPie menu
- To shut down: access the menu via SELECT → software shutdown
- The Raspberry restarts by unplugging and replugging the power cable (or use a case with a power button)
8. Conclusions
Everything is ready: it’s just a matter of exploring and playing. Raspberry is an extremely flexible device — at any time you can load a new image or new ROMs, or use it for a completely different purpose with a simple microSD swap: file server, Linux desktop, home automation hub… just reboot.
Welcome to your new retrogaming console! 🎮